DIN-rail controller module
Four modules wide, in line with the rest of the cabinet.
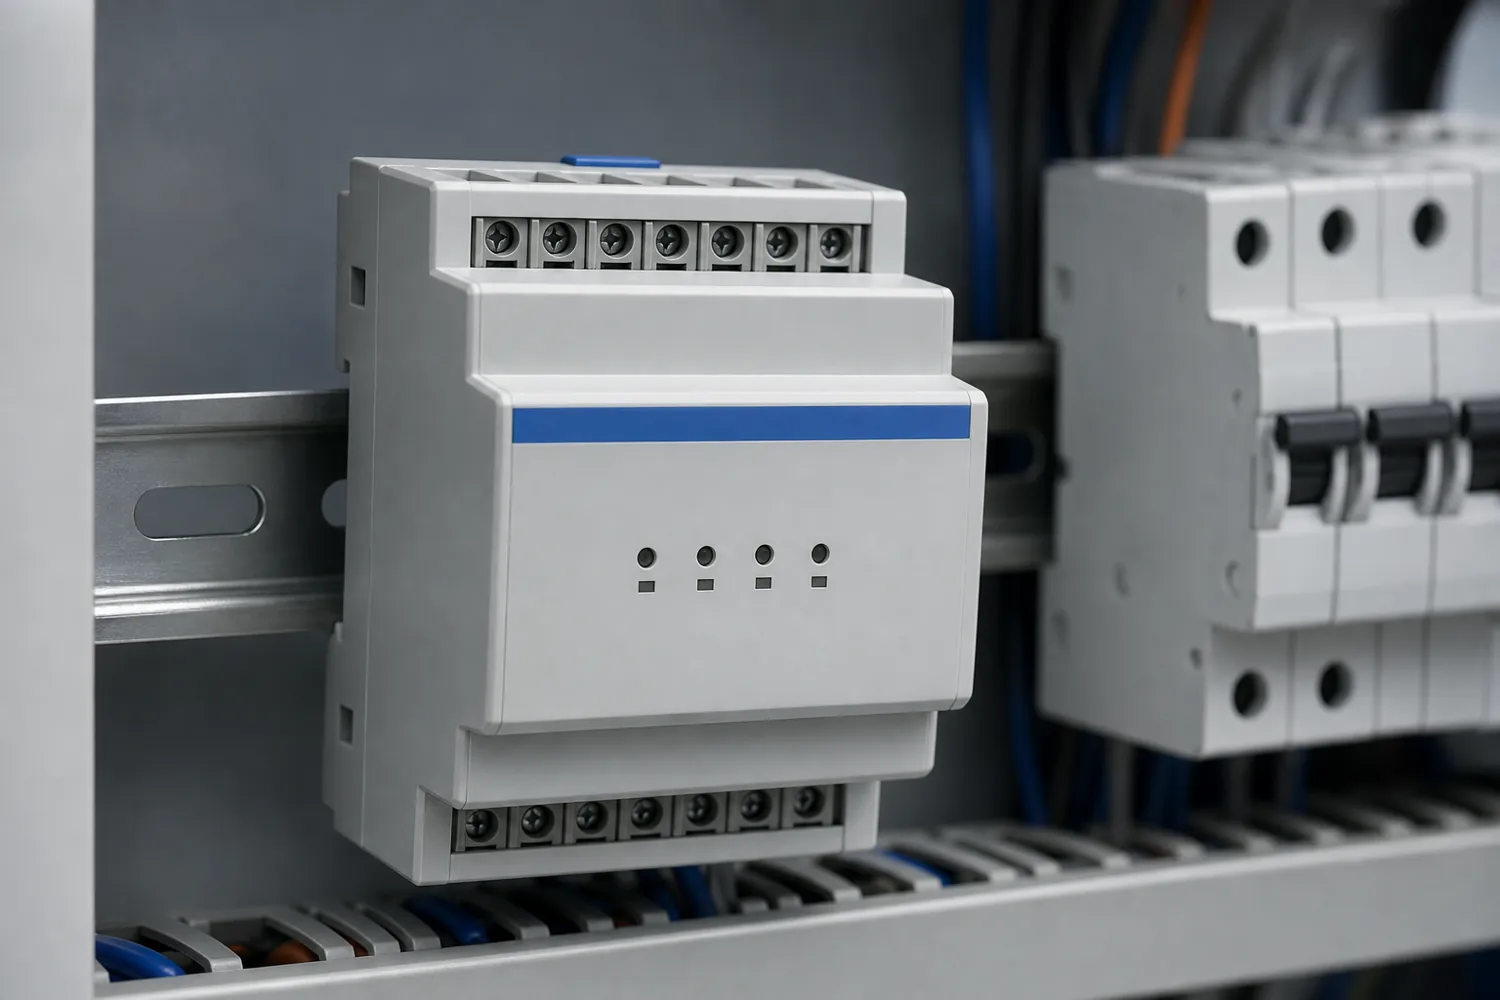
- Process
- Printed prototype → Injection
- Quantity
- 300
- Region
- EU
- Environment
- Control cabinet
- Image
- Concept image, not to scale
Example brief · not client workWe wrote this brief ourselves; it is not client work. The 3D model, drawings and inspection results are in production and will replace the placeholders below.
The request, as a client would send it
We make building-automation controllers and buy standard DIN-rail housings today (Hammond 1597DIN, 4 modules: 70 mm wide, 90 mm high, 58 mm deep). Our next board doesn't fit, so we need a custom housing with the same module size, so it sits in line with the other devices in the cabinet. Inside: one 65 x 58 mm PCB. Two rows of pluggable terminal blocks, top and bottom, 5.08 mm pitch (Phoenix MSTB 2,5/4-ST-5,08). Electricians need to pull the plugs out while the device stays on the rail. Four status LEDs must be visible through the front hood, and we need a front label area. It clips onto a standard 35 mm top-hat rail and must release with a flat screwdriver. 300 units, with printed prototypes first for fit tests with our installers. A sketch from our electrical engineer is attached.
Attached by the client
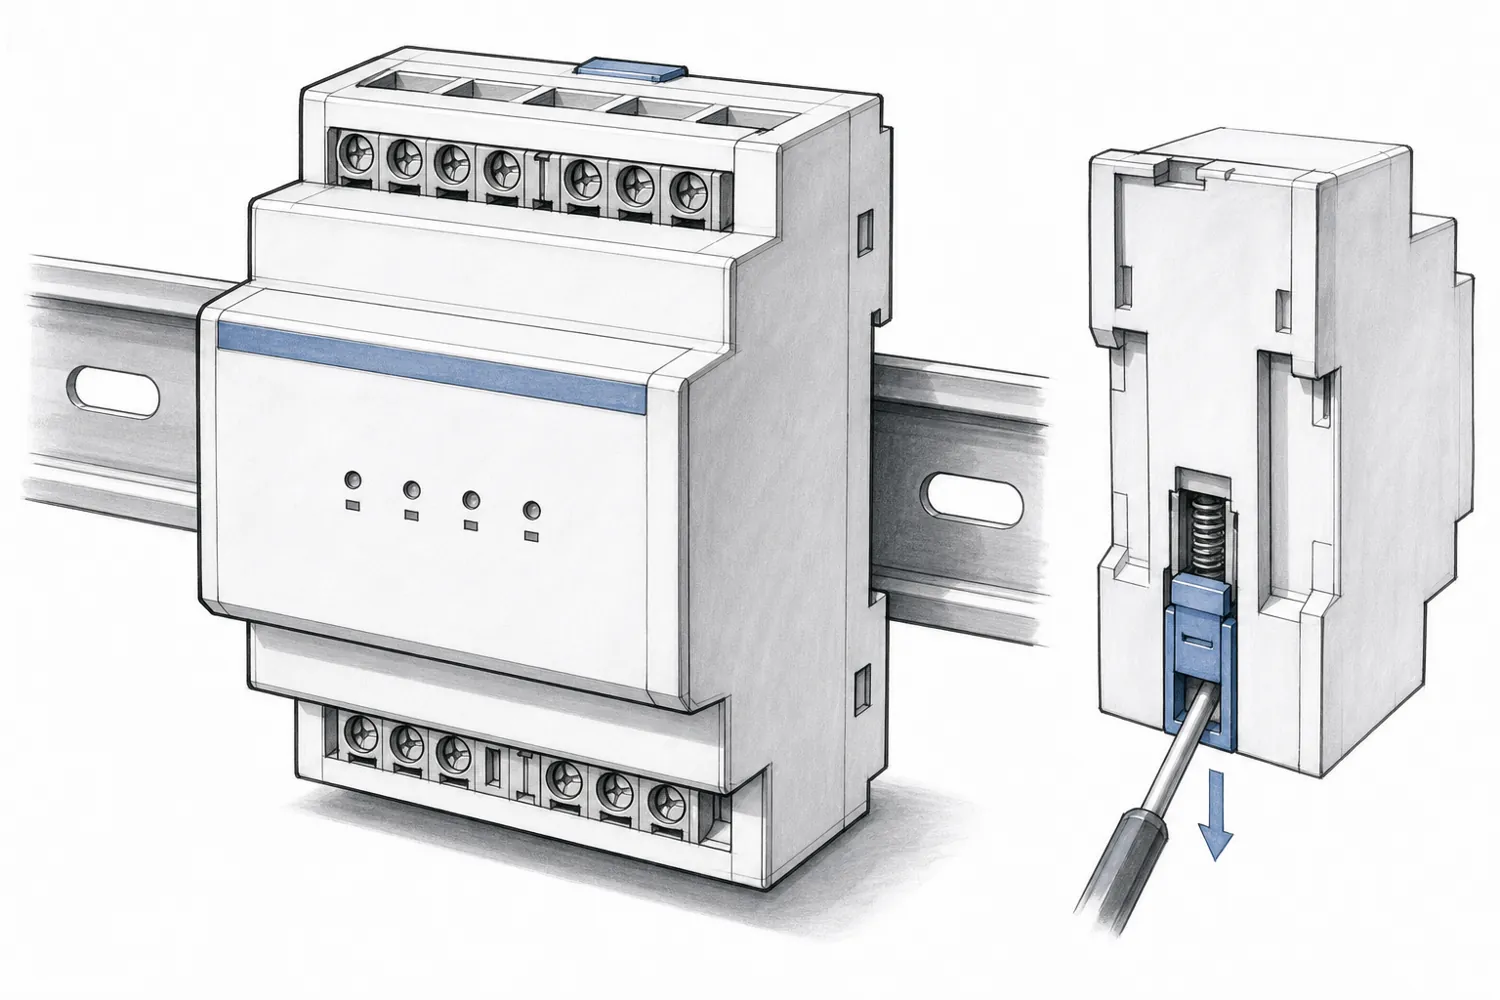
Links in the request
- Hammond 1597DIN (current housing) (opens in a new tab)4 modules = 70 x 90 x 58 mm
- Phoenix Contact MSTB 2,5/4-ST-5,08 (opens in a new tab)5.08 mm pitch pluggable block
- IEC 60715:2017 (DIN rails) (opens in a new tab)35 mm top-hat rail
Product names are their owners' trademarks and are used only to describe size or parts.
Highlighted numbers came with the request; they are the values we would design to.
What we considered
| No. | Consideration | How it is checked |
|---|---|---|
| 01 | A rail clip that snaps and lets go A spring clip for the 35 mm rail, with a slot for a flat screwdriver to release it. | Snap strain and catch angle within the material's limits. |
| 02 | In line with the cabinet Four 17.5 mm modules, 70 mm wide, with the standard front hood so it lines up with neighbouring devices. | Outer size against the module grid. |
| 03 | Plugs come out on the rail Room above and below the terminal rows for fingers and a screwdriver. | Clear zones at each terminal row. |
| 04 | LEDs line up with light holes Light holes in the hood sit over the LED positions on the board. | Hole positions against the LED coordinates. |
The question we would ask you
How big should the front label area be?
The label sets the hood's flat area and moves the LED holes.
What we do not claim
- Insulation class
- Any certification
CAD, drawings and inspection
Model, drawings, parts list and inspection report
The 3D model, dimensioned drawings, parts list, and the first-try and final inspection results will appear here after the first build. First-try failures stay visible.